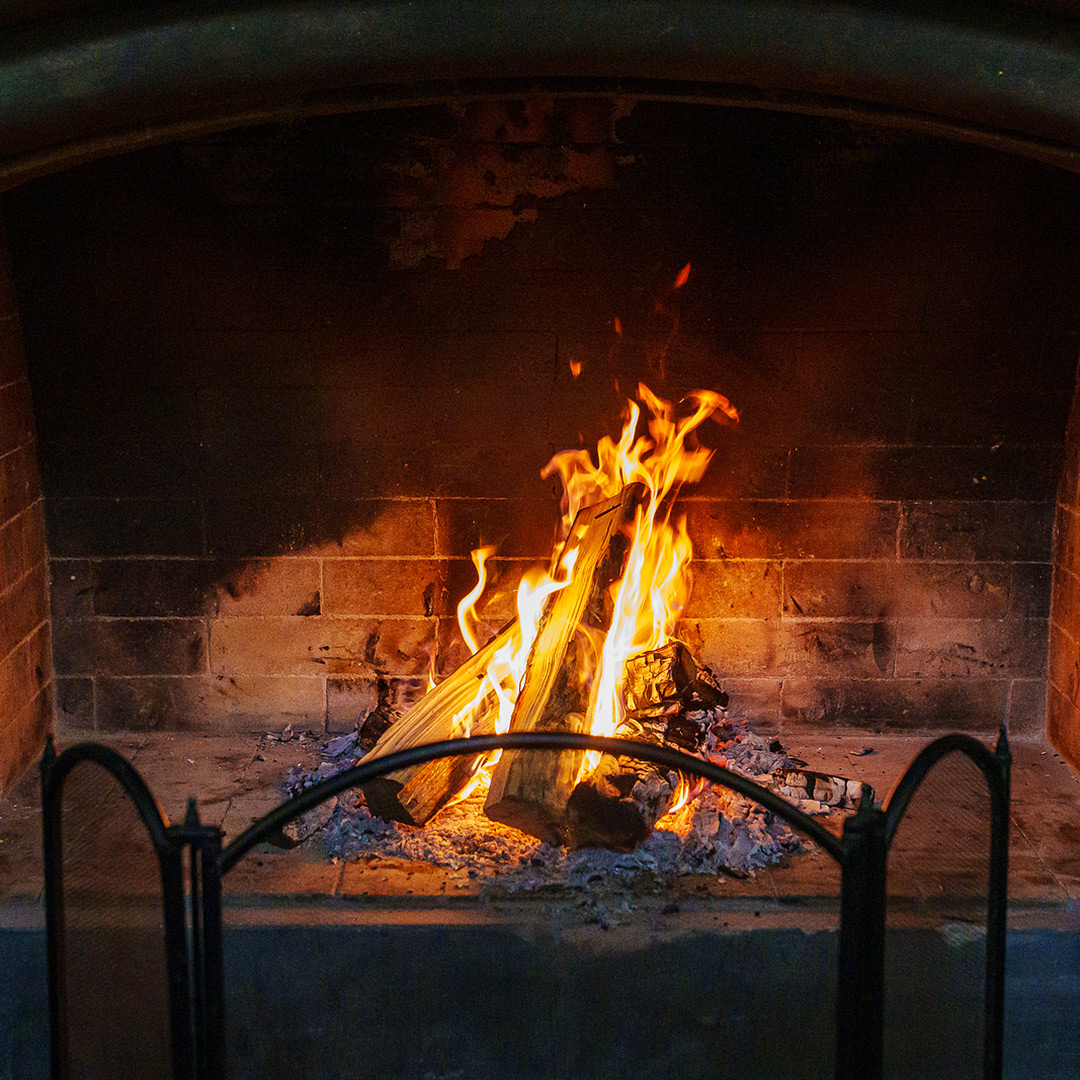
Cleaning a Haunted Chimney

Have you made an appointment for a fall chimney inspection yet? If you haven’t, now is the time. The inside of your chimney probably looks like a haunted house on Halloween! Take a look inside, you might find some spider webs! Speaking of Halloween, the Fall season is coming quickly. Chicagoland endures humidity, strong storms, and lastly colder temperatures. It’s easy to look past your chimney’s maintenance during the summer and Fall. The chimney probably isn’t being used just yet. When those cooler temperatures roll in and you want some extra warmth and comfort in the home, the last thing you think of are burning those cobwebs. A Fall chimney inspection will assure your chimney is worthy of use during the winter months.
The Earlier the Better?
Swimming, hot temperatures and camping…the perfect recipe for summer time fun. The last thing on your mind is your chimney or even the fireplace. But, school is in session now and summer vacations have come an end. It’s been a busy summer, and not many people are thinking about their chimney’s maintenance. Many don’t call a chimney professional unless they discover a problem. Then it’s too late. It’s important to keep up on maintenance, as a small problem can quickly become a bigger one. Proactivity keeps your chimney and home healthy.
A Fall chimney inspection will prevent serious damage. If there are repairs that need to be done, such as tuckpointing or rebuilding, the winter season is not the best time to do it. The cold weather makes it more difficult to apply the mortar. So, if your first chimney inspection is not in the warmer months, it may be difficult to get repairs done this year.
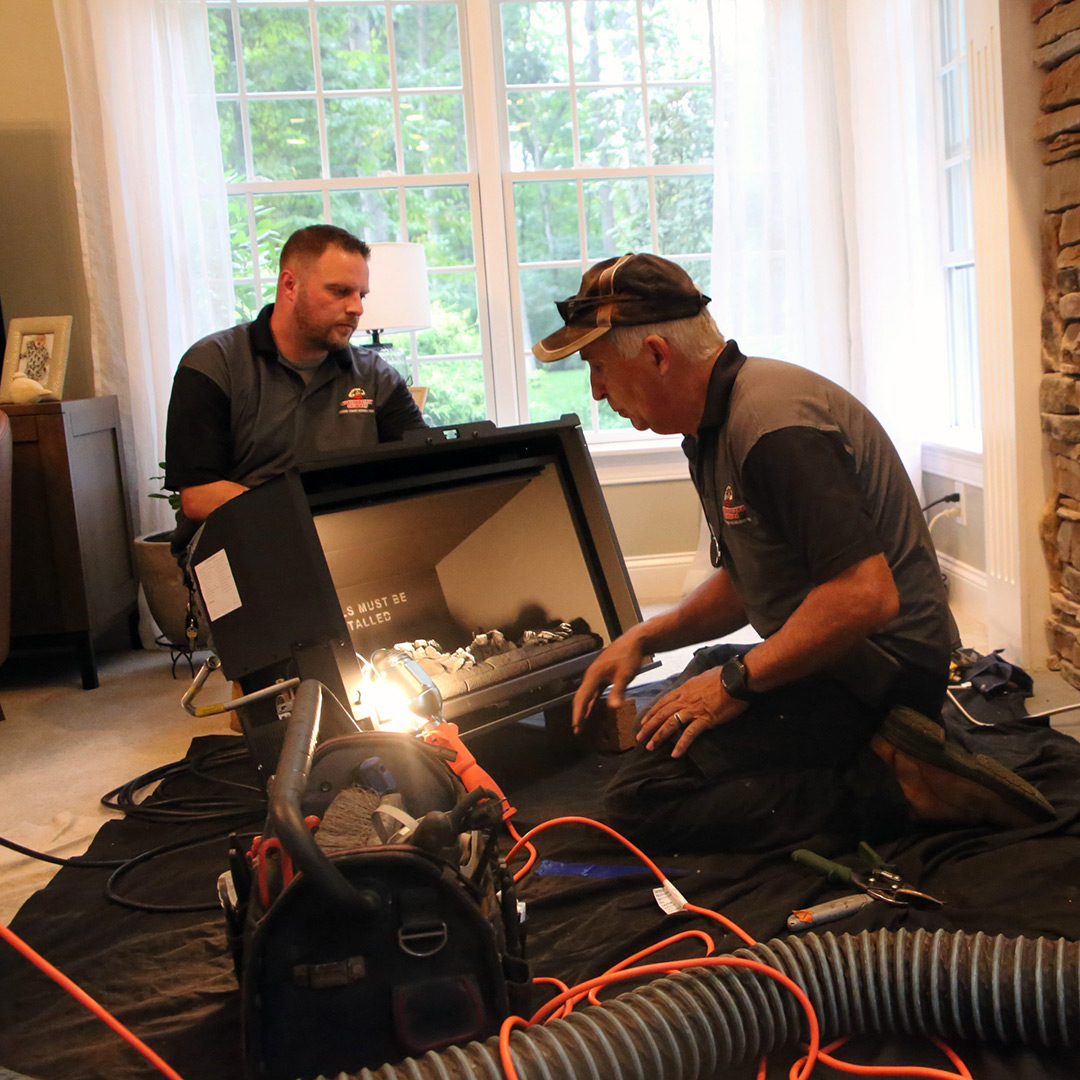
Superior Chimney’s Unique Inspection
A chimney professional from Superior Chimney will perform a 14 point inspection. This inspection includes a list of 14 sections where we check the exterior, interior, and fire box to determine if any repairs need to be done. We will check the:
- Chimney termination
- Fire Clay Flue Liner
- Hearth/Firebox
- Masonry Structure
- Smoke Chamber
And the list goes on!
What could be in there?
There are many reasons why the chimney’s flow is disrupted. A chimney is like a machine, it has a mechanical nature to it and any bump in the system will cause it to stop working. Some people notice smells coming from the chimney. This can be a result of creosote, a flammable substance, buildup. Natural smells or noises coming from your flue can indicate you have some critters living in there. Trying to smoke them out or clean it yourself is not recommended! Maybe you notice some ugly cracks on the outside of your chimney. This needs to be fixed as soon as possible before the freezing process begins in winter. Those cracks become bigger and more expensive to repair. Ultimately, there are so many small issues that will become serious problems. It’s best to call for an early Fall chimney inspection now, and beat the mid to late Fall chimney repair rush.
I want an inspection!
Superior Chimney is happy to help. Call us at 877-224-6349 to make an appointment for your 14-point inspection today.
This post first appeared on https://www.superiorchimney.net


 Gas Fireplaces
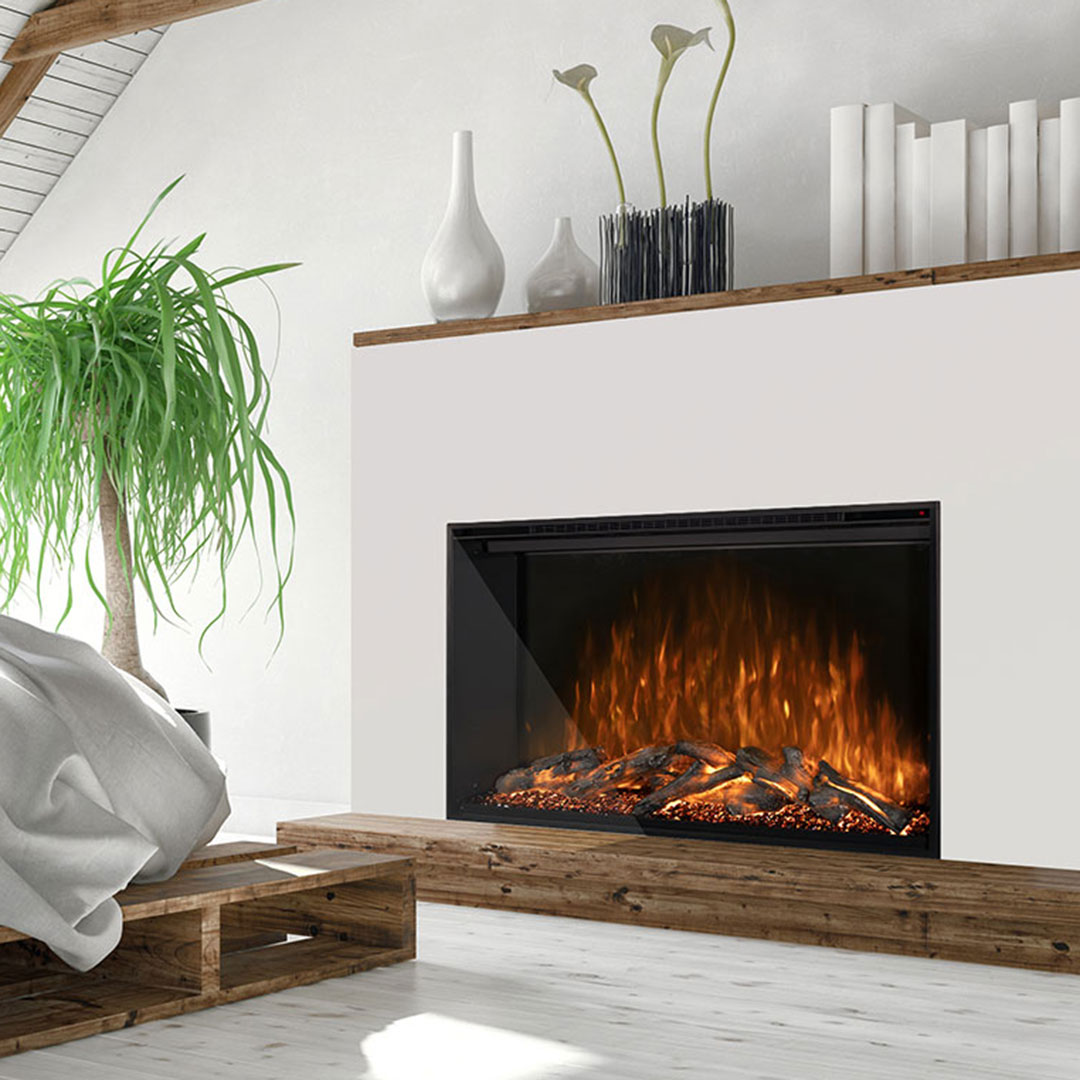
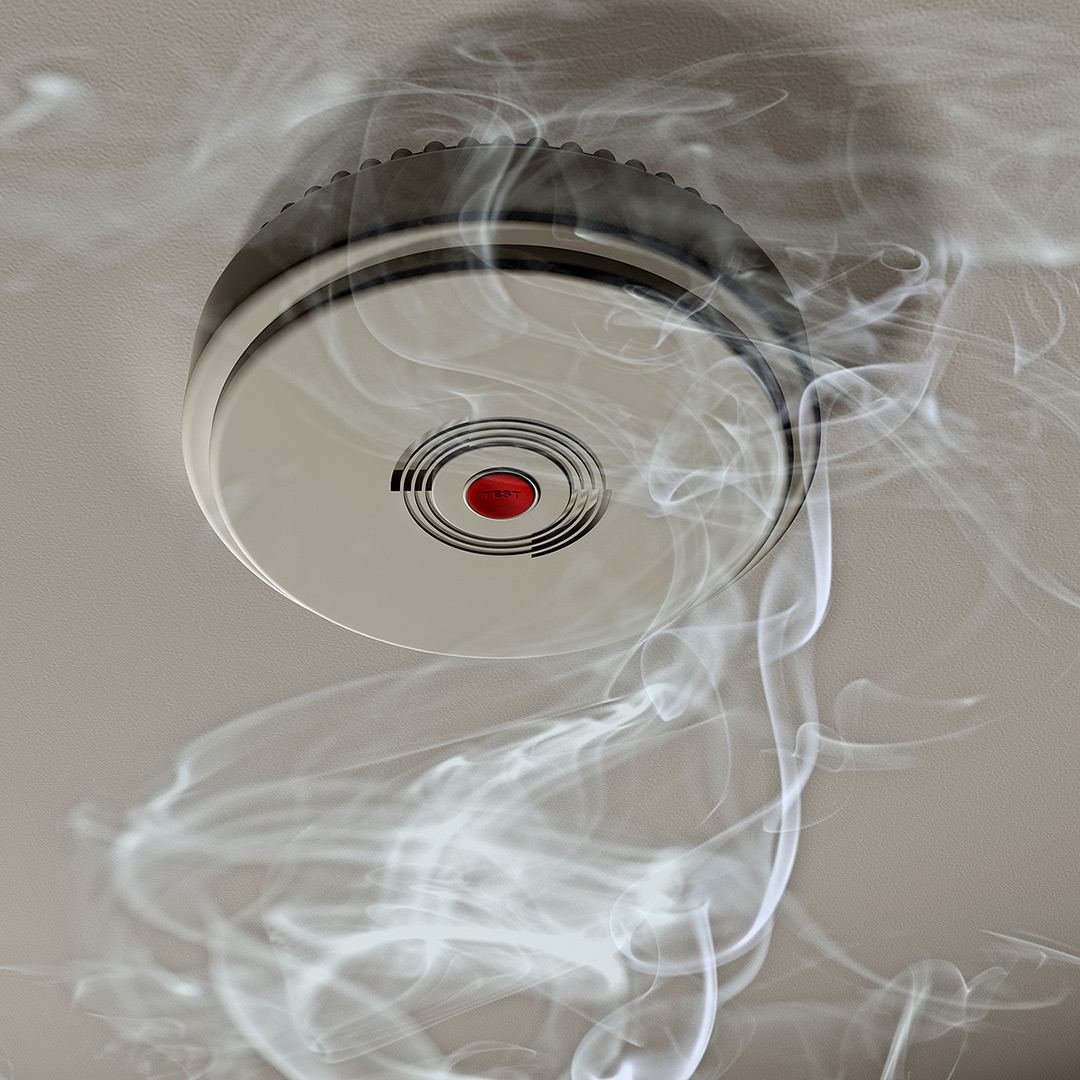 First and Foremost, Safety