6 Summer Fireplace Myths Busted
Fireplaces have a long tradition of providing warmth and value to homes nationwide. However, several myths about owning and operating a fireplace need to go away. In this post, we look at the most common fireplace myths and what the truth actually is.

Myth 1: If You Don’t Use Your Chimney, You Don’t Need Regular Inspections
One of the most common misconceptions about fireplaces is that you don’t have to worry about inspections or maintenance if you don’t use them regularly. However, this is far from the truth. Creosote accumulates in your chimney, even with limited fireplace usage. Creosote is highly flammable and doesn’t take much to pose a problem. Routine chimney inspections, maintenance, and cleaning are essential to address creosote buildup and ensure your chimney and fireplace are safe. Moreover, it’s common for birds and other critters to build nests in the chimney, causing a dangerous obstruction that could cause ventilation issues or put you at risk of a fire.
Myth 2: Cleaning the Chimney Yourself Can Save You Money
Do-it-yourself home repairs and maintenance are an excellent way to learn new skills and save a few bucks over hiring a professional. However, chimney cleaning is one task that’s best left to the experts, and here’s why. Professional chimney cleaners have the expertise and training to thoroughly remove dangerous creosote and other debris that pose a fire risk. Furthermore, certified chimney sweeps can detect underlying issues, like water damage, that may not be apparent to the untrained eye. Bricks and mortar absorb water like a sponge, causing cracks to form. Over time, the damage worsens, and you could pay thousands for major chimney repairs or a complete rebuild. So, as you can see, hiring a pro is safer and more economical in the long run.
Myth 3: Fireplaces are Only for Winter
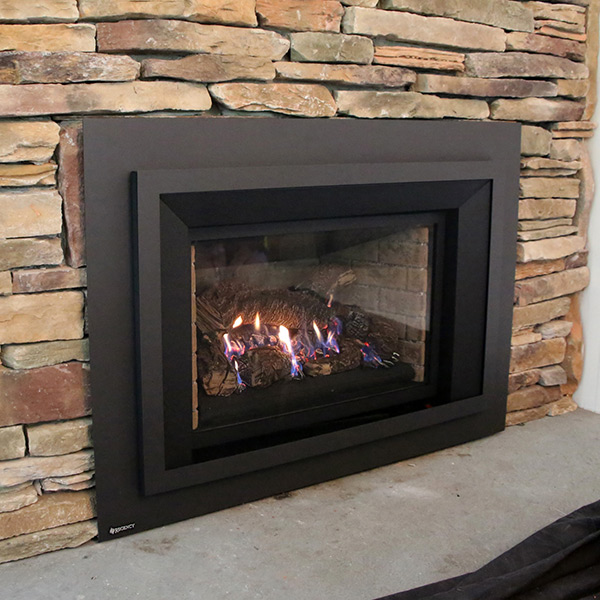
It’s true that most people only use their fireplace to keep warm during winter, but there’s no rule that says you can’t use them in summer too. Many homeowners light a fire on cooler summer evenings or for the ambiance. And, if you have a gas fireplace, you can control the heat output so the room doesn’t get too hot.
Myth 4: You Can Keep Your Damper Closed All Summer
Logic says you should keep the damper closed all summer to prevent water from leaking and keep your HVAC system’s cold air from escaping the chimney. But keeping the damper closed all summer can trap humid air in the chimney, creating a musty odor and leading to mold or mildew growth. The truth is that it’s wise to keep the damper open slightly for adequate ventilation. If you’re worried about energy efficiency, consider installing a top-sealing damper.
Myth 5: There’s No Chance of a Chimney Fire in Summer
The risk of a chimney fire is significantly lower in summer because of decreased usage; however, it’s not non-existent. If your chimney hasn’t been cleaned and there’s creosote buildup, there’s always a fire risk, especially during storms with lightning. If your chimney is struck by lightning, wait to use your fireplace until you get an inspection by a trained professional. Lightning strikes can damage bricks and mortar, and it often takes a trained eye to spot an issue that could put you at risk.
Myth 6: Gas Fireplaces Don’t Need Maintenance or Inspections
More and more homeowners opt for gas fireplaces over wood-burning ones because they’re more efficient, easier to use, and require less maintenance. However, less maintenance doesn’t mean no maintenance. It’s true that gas fireplaces burn cleaner than wood, but there’s still a chance that corrosive residue can stick to the flue liner and other parts of the chimney system. Furthermore, gas is highly flammable and dangerous, so it’s vital to have your gas fireplace inspected regularly to check for leaks, clogged burner ports, and other problems that could pose a health risk.

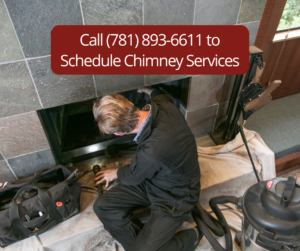
Call the Fluesbrothers for Summer Chimney Inspection
Fluesbrothers Chimney and Fireplace is the premiere chimney and fireplace contractor in the Kansas City metro area and beyond. We have over a decade of experience, and our technicians are certified by the National Fireplace Institute and the Chimney Safety Institute of America. Summer is the perfect time to schedule chimney and fireplace cleaning and maintenance because it gives you the opportunity to complete any necessary repairs before cold weather arrives, and there’s a better chance of getting an appointment that fits your busy schedule before the winter rush. Call us today at 913-236-7141
The post 6 Summer Fireplace Myths Busted first appeared on Fluesbrothers Chimney Service.
The post 6 Summer Fireplace Myths Busted appeared first on Fluesbrothers Chimney Service.
 No fires for 24 hours
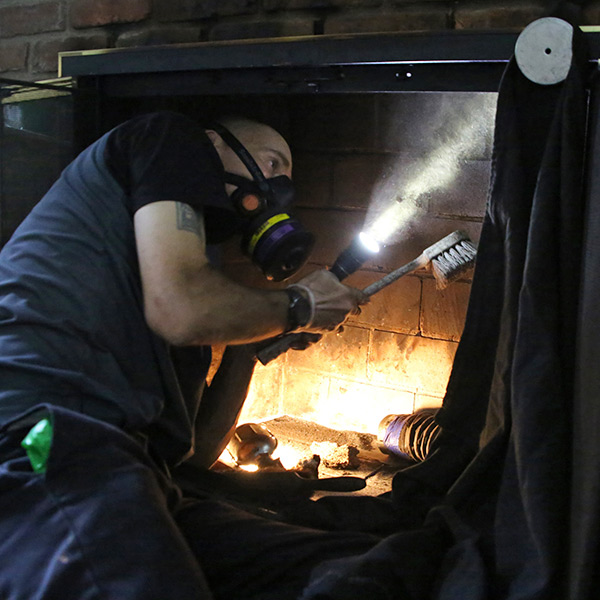 Compile any questions and concerns ahead of time
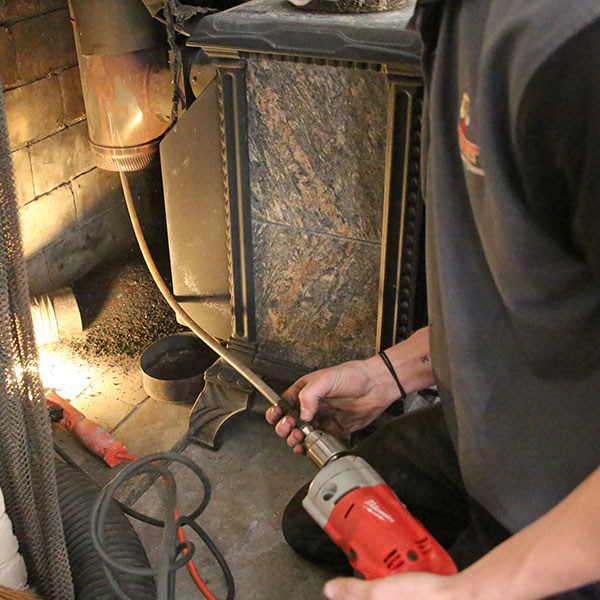 Creosote Removal
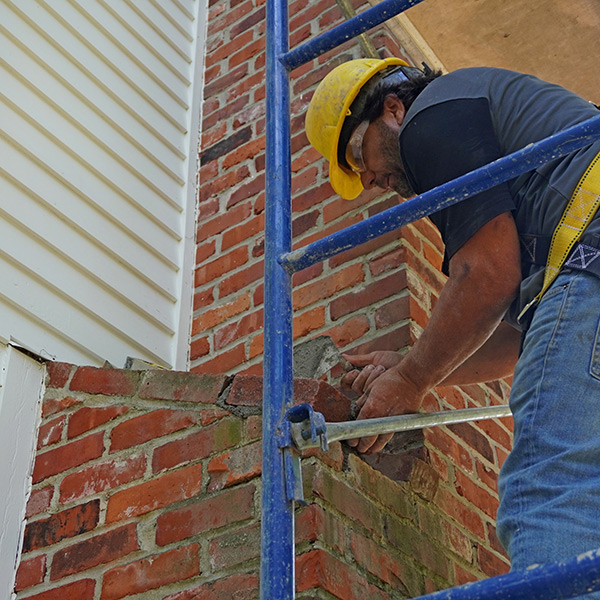


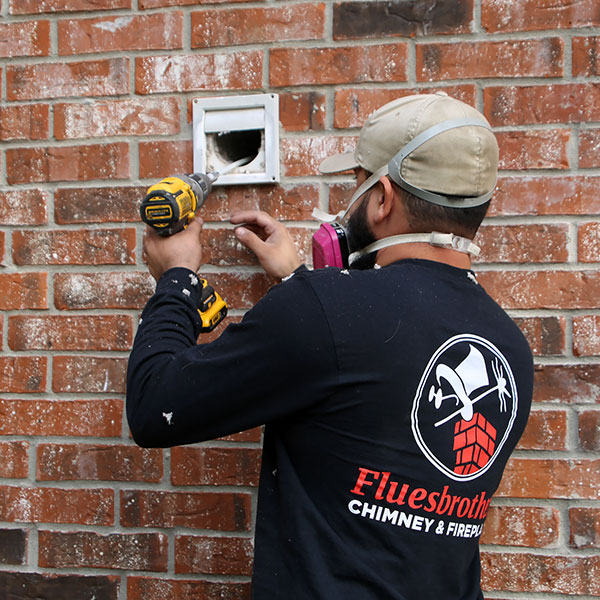 According to the US Fire Administration (USFA), nearly 3,000 clothes dryer fires occur annually. In addition to more than $233 million in property damage every year, these fires cause a number of injuries and fatalities.
 Kansas City Dryer Vent Cleaning Services