Why Does My Furnace Keep Turning Off?
Welcome to Lindemann’s resource library, where we bring clarity to your chimney, fireplace, and heating & cooling queries. Today, we’re tackling a common concern among homeowners: “Why does my furnace keep turning off?” This issue, while frustrating, can often be attributed to a few key factors.
Safety Precautions
Safety should always be your foremost concern when dealing with furnace issues. Furnaces, if not properly maintained or operated, can pose significant risks. Below are critical safety precautions to follow, ensuring your home’s heating system operates safely and effectively.
- Carbon Monoxide Detectors: Install and maintain carbon monoxide detectors near your furnace and in sleeping areas.
- Don’t Ignore Smells or Sounds: If you notice strange smells or sounds coming from your furnace, shut it off immediately and call a professional.
- Keep Flammable Items Away: Ensure no flammable materials are stored near the furnace.
- Educate Your Household: Make sure all household members know how to shut off the furnace and who to call in case of an emergency.
- Avoid DIY on Complex Repairs: While basic maintenance can be a DIY task, complex repairs should always be left to professionals.
- Turn Off Gas and Power During Repairs: Always turn off the gas and power supply to your furnace before performing any maintenance.
Common Reasons Why Furnaces Turn Off (And Their Solutions)
Understanding why your furnace frequently turns off is crucial for maintaining a comfortable and safe home environment. Many factors, ranging from simple fixes to more complex issues, can contribute to this problem. Let’s explore the six most common reasons why furnaces turn off, providing insights into each issue and how they impact your heating system’s performance.
1. Thermostat Issues
The thermostat is the command center for your furnace. Incorrect settings or malfunctions can lead to frequent on-and-off cycles.
Solution
Check the thermostat settings and ensure it’s on “heat” and set to the right temperature. If the problem persists, consider consulting a professional for a thorough inspection.
- Check Settings: Verify that the thermostat is set to ‘heat’ mode and the desired temperature is correctly set.
- Battery Replacement: If the thermostat is battery-operated, replace the batteries to ensure proper functioning.
- Wiring Check: Inspect the wiring for any loose connections or damages. This should be done by a professional.
- Upgrade or Replace: Consider upgrading to a programmable thermostat for better efficiency and control.
2. Overheating
Furnaces have built-in safety features that shut them down when overheating is detected. This can be due to restricted airflow or a faulty heat exchanger.
Solution
Regular maintenance, such as changing filters and ensuring vents are clear, can prevent overheating. If overheating continues, it’s essential to get a professional assessment.
- Air Filter Maintenance: Regularly replace or clean air filters to ensure proper airflow.
- Clear Vents and Registers: Make sure all vents and registers are open and not blocked by furniture or curtains.
- Professional Inspection: Have a technician inspect the heat exchanger and internal components for any signs of damage or wear.
- System Balance: Ensure that the system is properly balanced for even heat distribution.
3. Faulty Flame Sensor
The flame sensor safeguards against unburned gas. A dirty or malfunctioning sensor can misinterpret signals, causing the furnace to shut off.
Solution
Cleaning or replacing the flame sensor is a job for a trained technician, ensuring your furnace operates safely and effectively.
- Regular Cleaning: Periodically clean the flame sensor to remove any buildup of soot or debris.
- Sensor Alignment: Check that the sensor is correctly aligned with the furnace’s flame.
- Professional Assessment: If cleaning doesn’t resolve the issue, a technician should assess whether the sensor needs replacement.
4. Ignition Problems
Problems with the ignition system can lead to the furnace not firing up correctly, causing short cycling.
Solution
Ignition system issues are complex and require professional intervention to diagnose and repair.
- Ignition System Cleaning: Regular cleaning of the ignition components to prevent buildup.
- Component Check: Inspect and replace any faulty ignition components like the pilot light or electronic igniter.
- System Calibration: Professional calibration of the ignition system for optimal performance.
5. Dirty Air Filters
Clogged air filters restrict airflow, causing the furnace to work harder and potentially overheat.
Solution
Regularly replacing or cleaning your furnace filters can prevent many issues related to airflow.
- Routine Replacement: Change air filters every 1-3 months, depending on usage and type.
- Upgrade Filters: Use high-quality filters for better performance and air quality.
- System Check: After replacing the filter, check the system for improved airflow and operation.
6. High-Efficiency Furnace Venting Issues
High-efficiency furnaces need proper venting. Blocked or improperly installed vents can cause shutdowns.
Solution
Regular inspection and cleaning of vents are crucial. It’s advisable to have these checked by professionals.
- Vent Inspection: Regularly inspect and clean the venting system to ensure there are no blockages.
- Proper Installation: Have a professional verify that the venting system is installed and functioning correctly.
- Check for Leaks: Ensure there are no leaks or cracks in the venting pipes.
Preventative Maintenance Tips
Regular maintenance is key to ensuring the longevity and efficiency of your furnace. By following some simple preventative measures, you can avoid common issues that lead to furnace malfunctions. Here are essential maintenance tips to keep your furnace running smoothly and efficiently.
- Regular Filter Replacement: Change your air filters every 1-3 months to ensure proper airflow and prevent overheating.
- Annual Inspections: Schedule a professional inspection and maintenance service annually, ideally before the heating season begins.
- Keep Vents Clear: Regularly check and keep all vents and registers in your home unobstructed for efficient heating.
- Test Thermostat Functionality: Regularly check your thermostat to ensure it’s working correctly and replace the batteries as needed.
- Clean the Furnace Area: Keep the area around your furnace clean and free from debris to prevent fire hazards and improve efficiency.
- Monitor Furnace Performance: Pay attention to any unusual noises, smells, or performance issues and address them promptly.
Final Thoughts
While some furnace problems can be resolved with simple checks and routine maintenance, others require the expertise of a professional. At Lindemann, we’re dedicated to ensuring your heating system runs smoothly and efficiently. If your furnace keeps turning off, don’t hesitate to contact us for expert service and peace of mind.


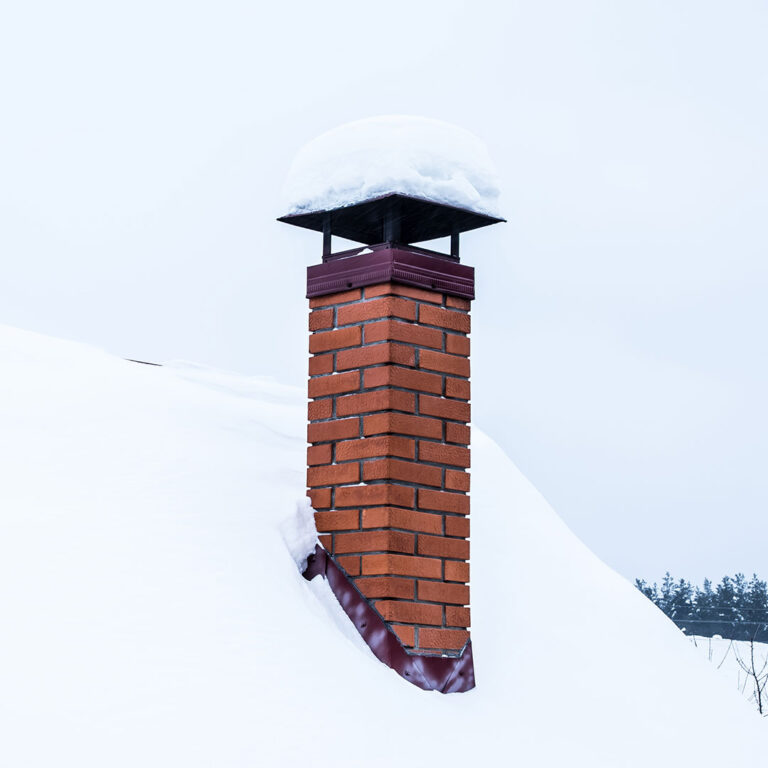
 How Do You Protect Your Chimney from Snow?