Help – Smoke Is Coming out of my Fireplace!
 If your fireplace is sending smoke into your home, you wouldn’t be the first. This is a common problem for folks who regularly use their fireplaces. Fortunately, it’s often an easy problem to solve.
Any time smoke is not moving properly up the chimney, you need to reverse the situation. In some cases, a professional chimney technician will be required; in many other cases, you can do what’s necessary to keep your interior air clean and healthy.
Reasons for a smoky fireplace that you can address
Wet firewood: Wood that hasn’t had time to dry out contains a lot of excess moisture that will create huge amounts of smoke when burned. This may be too much for your chimney to vent efficiently. Solve this issue by using dry (seasoned) firewood. Check logs by banging two together: damp wood makes a thud; dry wood makes a hollow sound.
Damper malfunction: If your fireplace damper is warped, overly rusted or corroded with soot and creosote, it may not be able to open fully. This is a common reason for smoke backing up into the house. Have the damper inspected then cleaned, repaired or replaced. And, of course, never forget to open the damper before starting a fire.
Not enough air flow: If your house is particularly “air-tight,” you might not be getting enough drafting air into the fireplace. Smoke needs a certain amount of air in order to follow its logical path up the flue. If this is your issue, opening a nearby window an inch or so should fix it.
Flue is full of cold air: Cold air is heavier than warm air. If there is cold air in your chimney flue, the warm air with smoke in it from the fire may not be able to move up and out. Try blowing warm air into the flue with a hair dryer, or light a rolled-up newspaper and stick it up into the flue to warm the air.
Many issues with drafting can be solved in the above ways. If none of these actions solve the problem, you may need to consult with a licensed chimney repair technician.
Drafting problems that only a trained chimney pro can solve
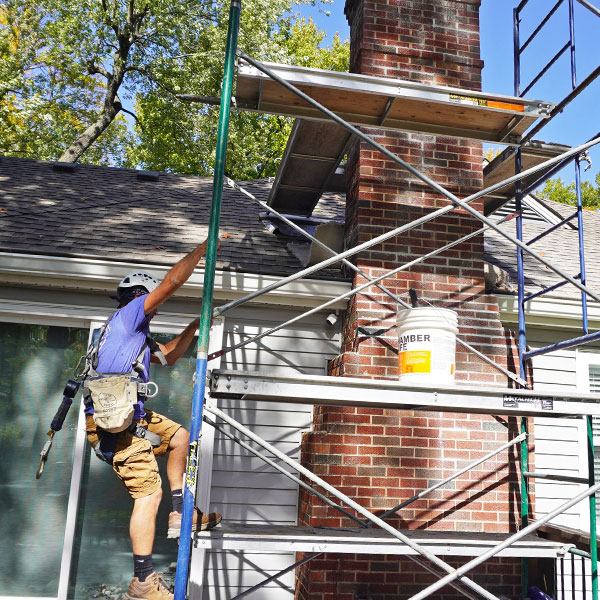
Improper construction of the chimney: The chimney flue is supposed to be a certain size to properly draft the fireplace it’s connected to. If your flue was not built correctly, you may experience ongoing drafting issues. A chimney inspection is the place to start, after which you’ll be able to make the necessary modifications.
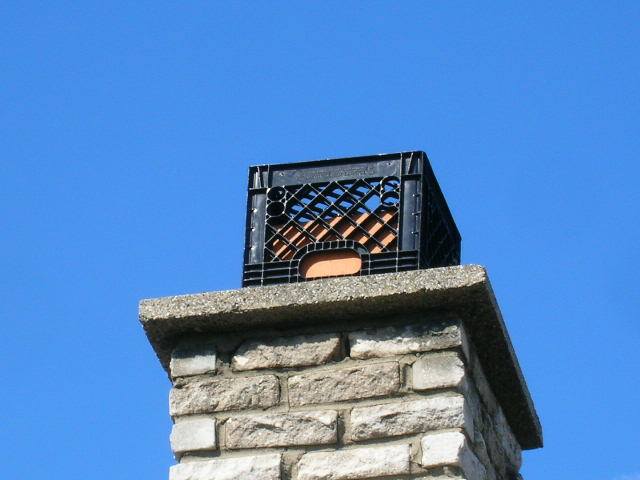
Outside debris in the flue: If you operate your chimney without a chimney cap, all kinds of debris can get inside the flue and hinder drafting. Nests, falling leaves, twigs, small dead animals and other debris must be carefully removed by a professional chimney sweep to restore drafting efficiency.
 Excess creosote buildup: Wood fires cause creosote to form in your chimney flue. Creosote is a flammable substance that clings to the walls of the chimney liner and can build up to the point that smoke starts backing up into your home. Certified chimney sweeps have the necessary tools and training to safely remove creosote from your chimney and reduce drafting problems while lessening the chance of a chimney fire.
If your fireplace is sending smoke into your home, try some of the suggestions here. If nothing works, call High’s Chimney Service of Gaithersburg, MD. We’ll find out what’s causing the problem and get it fixed for you. Give us a call to schedule an appointment with a licensed chimney professional at (301) 519-3500.
The post Help – Smoke Is Coming out of my Fireplace! appeared first on Highs Chimney.
 Chimneys are strong and will last for many years, when they’re built well and properly maintained. But even the best chimney won’t last forever. If your chimney is older or has suffered a lot of damage, you may be wondering if you need a
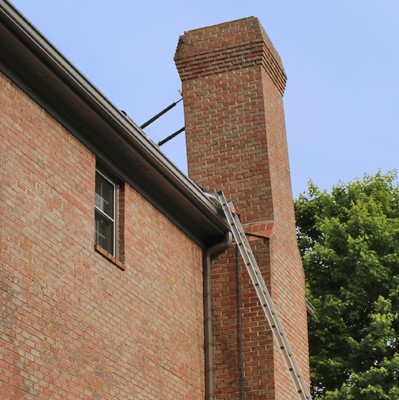


 CSIA-certified chimney sweeps regularly see the signs left in the wake of a chimney fire. You can spot some of them yourself.
 Open the Damper
 If your chimney is obstructed, your fireplace will be smoky. Creosote is the number one cause of a blocked chimney. With every wood fire, combustion materials stick to the chimney flue on the way out of the chimney. Annual chimney cleaning is recommended by the National Fire Protection Association (NFPA). The Chimney Safety Institute of America (CSIA) recommends getting your chimney cleaned when there is 1/8th of an inch of sooty buildup in the chimney lining.
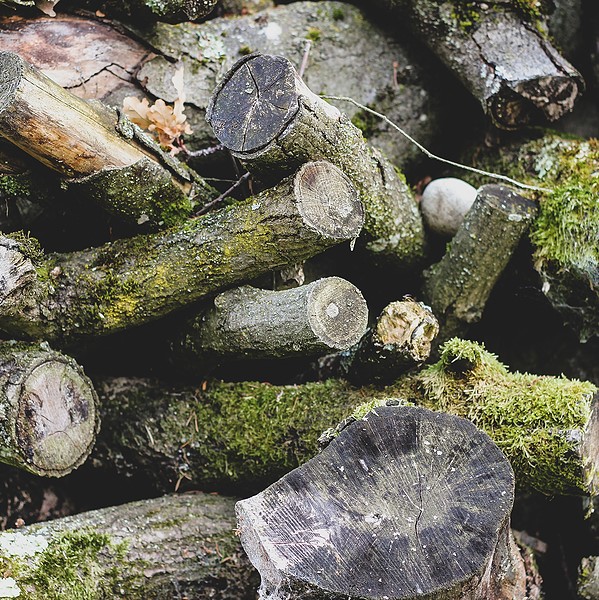 Basically, firewood is divided into hardwood and softwood varieties. Hardwoods such as hickory, maple and walnut burn longer and with less smoke and creosote deposits in your chimney than spruce, pine, redwood and other softwoods.
 Following these guidelines will make you a true master of the art of firewood and give you a lifetime of quality fires and lots of comfort and enjoyment.
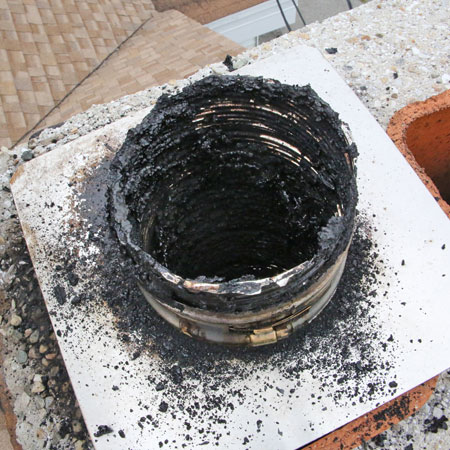 The older corbeled method no longer meets current building code requirements due to an increased fire risk. Corbeling involves staggering the bricks like steps. The jagged edges increase the likelihood that the mortar joints will suffer accelerated deterioration due to its proximity to the heat and gases rising through the narrow chamber. The deterioration can cause gaps or voids that inhibit venting, increasing the risk of carbon monoxide poisoning. The accumulation of creosote in these areas can also increase fire risk and reduce its structural integrity.
 Smoke chamber repair