Why Now is the Best Time for Masonry Repairs
When is the last time you used your fireplace? For most homeowners in the Connecticut area, that season ended a while ago. With warmer weather on the horizon, now is the best time for masonry repairs. After all, your chimney takes a beating during the winter months. Let’s start by looking at a few warning signs.
 Signs that now is the best time for masonry repairs
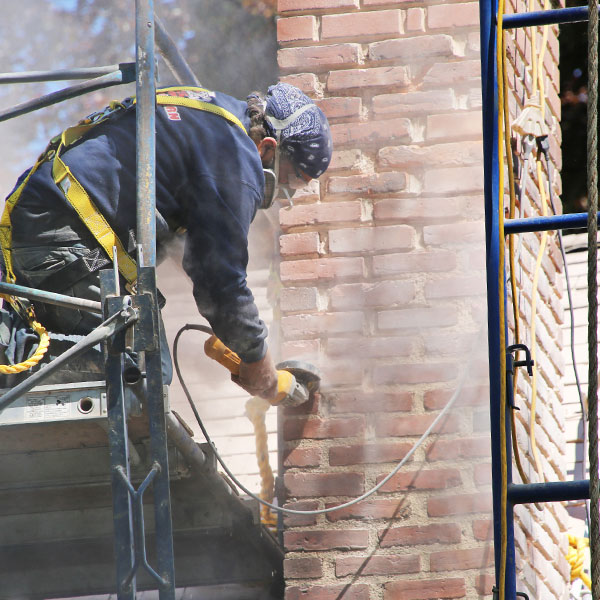
Visually, there are several warning signs letting you know that you need to repair your chimney’s masonry. Those include:
-
Damage to your chimney crown;
-
A missing chimney cap;
-
Spalling, cracked, or missing bricks, and;
-
Staining, especially if they’re white stains.
The root of it all
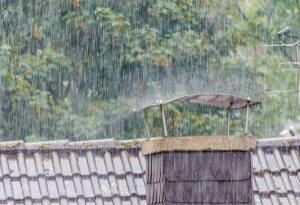
Although any type of stain on your chimney is cause for a Northeastern Chimney technician to visit your home, white stains are a sign of efflorescence. These are leftover salt deposits as water evaporates. Indeed, moisture is a major problem with any chimney and should be addressed as soon as possible.
Water erodes masonry, causes cracks in your brick-and-mortar, and can invade your home causing additional damage. Excessive moisture can also lead to mold growth as well as a leaning chimney.
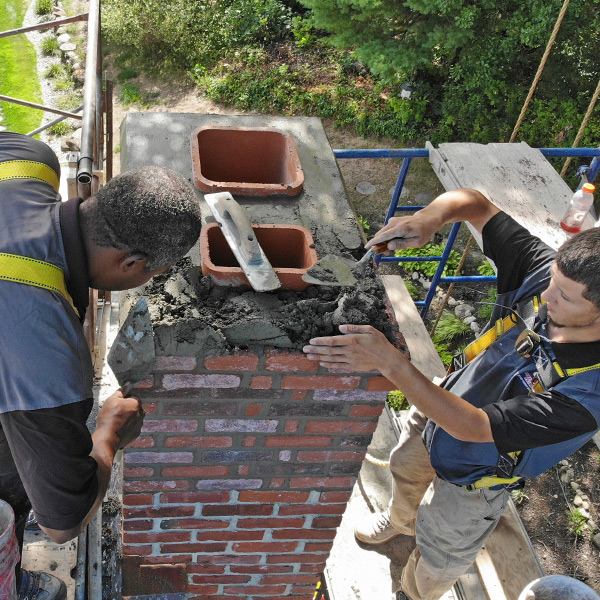
Types of spring chimney repairs
Spring brings with it multiple types of household repair tasks as we collectively shake off the effects of winter. During this time of year, there are five primary types of chimney repairs. Those are:
-
Tuckpointing, which repairs damaged mortar joints;
-
Repointing, which removes old mortar and replaces it with new;
-
A system rebuild, which can include just a few sections or the entire chimney structure itself;
-
Replacing damaged or absent components, such as a broken crown or missing cap;
-
And waterproofing, designed to protect your recent repairs and overall investment.
Sometimes, emergencies arise necessitating major repairs regardless of the season. However, now is the best time for masonry repairs because of these three big reasons.
Benefit 1: Fix new issues from winter
Have you ever had a vehicle that was long overdue for an oil change? If so, you probably noticed a drop in fuel efficiency. Eventually, it will lead to additional engine problems.
Likewise, any new issues with your chimney that are allowed to grow will only lead to bigger repair costs down the road. Fix them now before they become larger problems.
Benefit 2: The weather is “perfect”
Mind you, we get that spring doesn’t always have the perfect weather. Rather, what we’re referring to is the general fact that the springtime months are warmer than the ones that preceded them. The higher temperatures allow for your masonry components to set more efficiently than when it’s colder outside.
Benefit 3: Early preparation for fall
Although we’re just now coming out of winter, it’s never too early to prepare for the upcoming season. By addressing your chimney’s repair needs today, you’ll be ready to use your chimney the moment the weather turns cold this fall.
 Contact us today to get on our calendar!
If you notice that your chimney has any of the signs we’ve mentioned or other apparent damage, let us know. Because now is the best time for masonry repairs, we’ll get you on our calendar ASAP.
Ready to get started? Then contact Northeastern Chimney, LLC by giving our team a call at
860-233-5770 or by sending us a message through our contact page.
The post Why Now is the Best Time for Masonry Repairs appeared first on .
This post first appeared on https://www.mychimney.com


 What causes leaks in chimneys?
 Call the Fluesbrothers Chimney & Fireplace for Leaky Chimney Advice
